Guide: Metronome in Digital Ocean
This guide will walk you through the steps to install Metronome in Digital Ocean, but the same steps can be used for any other cloud provider that you can ssh into.Before you start
You need to create a Digital Ocean account first, if you haven't already, you can use this affiliate link to get a $200 in credit for 60 days.
Reverse proxy server
Metronome comes with Caddy configured as a reverse proxy with SSL termination to expose Metronome to the internet.You need a domain name to use with Metronome. You can use your existing domain and add an record like to point to your Digital Ocean Droplet IP address.
A
metronome.yourdomain.com
1. Create a Digital Ocean Droplet
Create an Ubuntu droplet with Docker. You can use this Digital Ocean Docker Template. Make sure it has at least 4GB of RAM and 2 CPUs. At the end, it will depends on your ingestion rate.2. Assign a Reserved IP to your Droplet
Assign a reserved IP to your droplet. This will ensure that your droplet will always have the same IP address.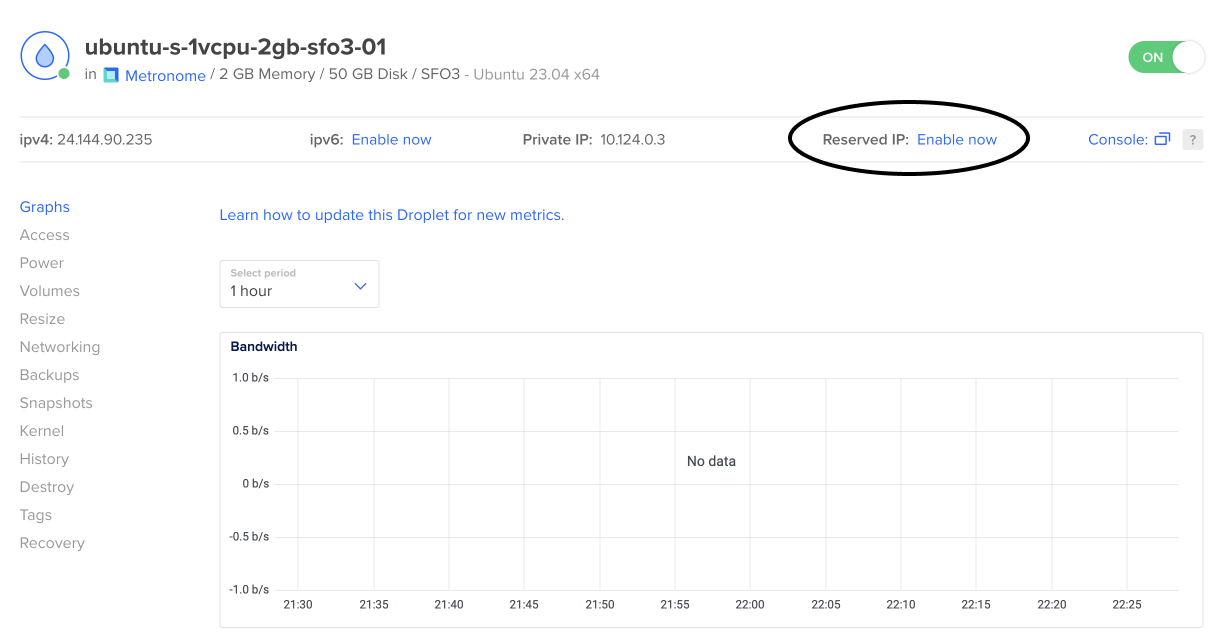
3. Configure your domain name
Add anA
metronome.yourdomain.com
4. Clone the Metronome repository
SSH into your droplet and clone the Metronome repository.Terminal
$git clone https://github.com/metronome-sh/docker.git
5. Run the setup script
To create the necessary configuration files and start Metronome, run the setup script.Geolocation
Metronome uses MaxMind GeoLite2 database to geolocate IP addresses. You need to create a free account on MaxMind and get a license key to use with Metronome.If you don't provide a license key, Metronome will still work, but it will not geolocate IP addresses.
Terminal
$cd docker
$./setup.sh --maxmind-license MAXMIND_LICENSE --url DOMAIN_NAME
.env
6. Start Metronome
Terminal
$docker compose up -d;
Cheking the logs
You can check the logs to see if Metronome is starting correctly by running:
Terminal
$docker compose logs -f;
https://metronome.yourdomain.com
Updating Metronome self hosted
Having accessed the droplet, you can update Metronome by following the steps below:1. Pull the latest commit from the repository
Terminal
$cd docker
$git pull
2. Rebuild the web and the worker containers
Terminal
$docker-compose build web worker --no-cache
3. Docker compose up
Terminal
$docker-compose up -d